

Existing identity authentication systems require an understanding of what will occur when different ID factors are introduced.

Authentication Methods
Often in authentication method scenarios, different systems will have default settings that must compete with administrator settings for hierarchy. When a user (in this case, a clinician) is trying to authenticate themselves (or, log into a system, proving that they are allowed to be in this system) they can also come across other scenarios that will impact their workflow. What if they are using a new card that hasn’t been linked to them before? What if a Personal Identification Number also needs to be associated with the card and therefore with them as well? What if there are a number of methods for authentication that could appear on a welcome screen: In what order of usage (or importance) would they appear, and what what dictates that order? These are many of the inner workings of an authentication system that has inherited rules.

When mapping out the authentication process, creating user flows are extremely important, both as a tool to help understand what occurs during the authentication, but also to communicate to developers what the natural development of sequence and steps should be as a user progresses. In this flow, you’ll notice that clinicians can authenticate, create a new PIN to associate with a card, replace a new PIN for an expired one, and also undergo a possible failure and (therefore) a trip back to repeat the process. Though a flow like this can seem simple, it is, along with others, a vital step in establishing what are the possible outcomes during a login process.

In this wireframe, the user encounters a system that has been set up for more than 3 authentication options. Based on factors dictated by this particular institution’s admin set up (and hierarchical rules) the Security Key option should show up first. Next, the second option in a hierarchical list would appear. The third option will always be the Username and Password pair, as this is closest to the where the user’s hardware (mouse set up and digital key reader) would be found. If a fourth option is available, due to space constraints, and the fact that it’s a rare case, will show up at the bottom of the options as a text link.
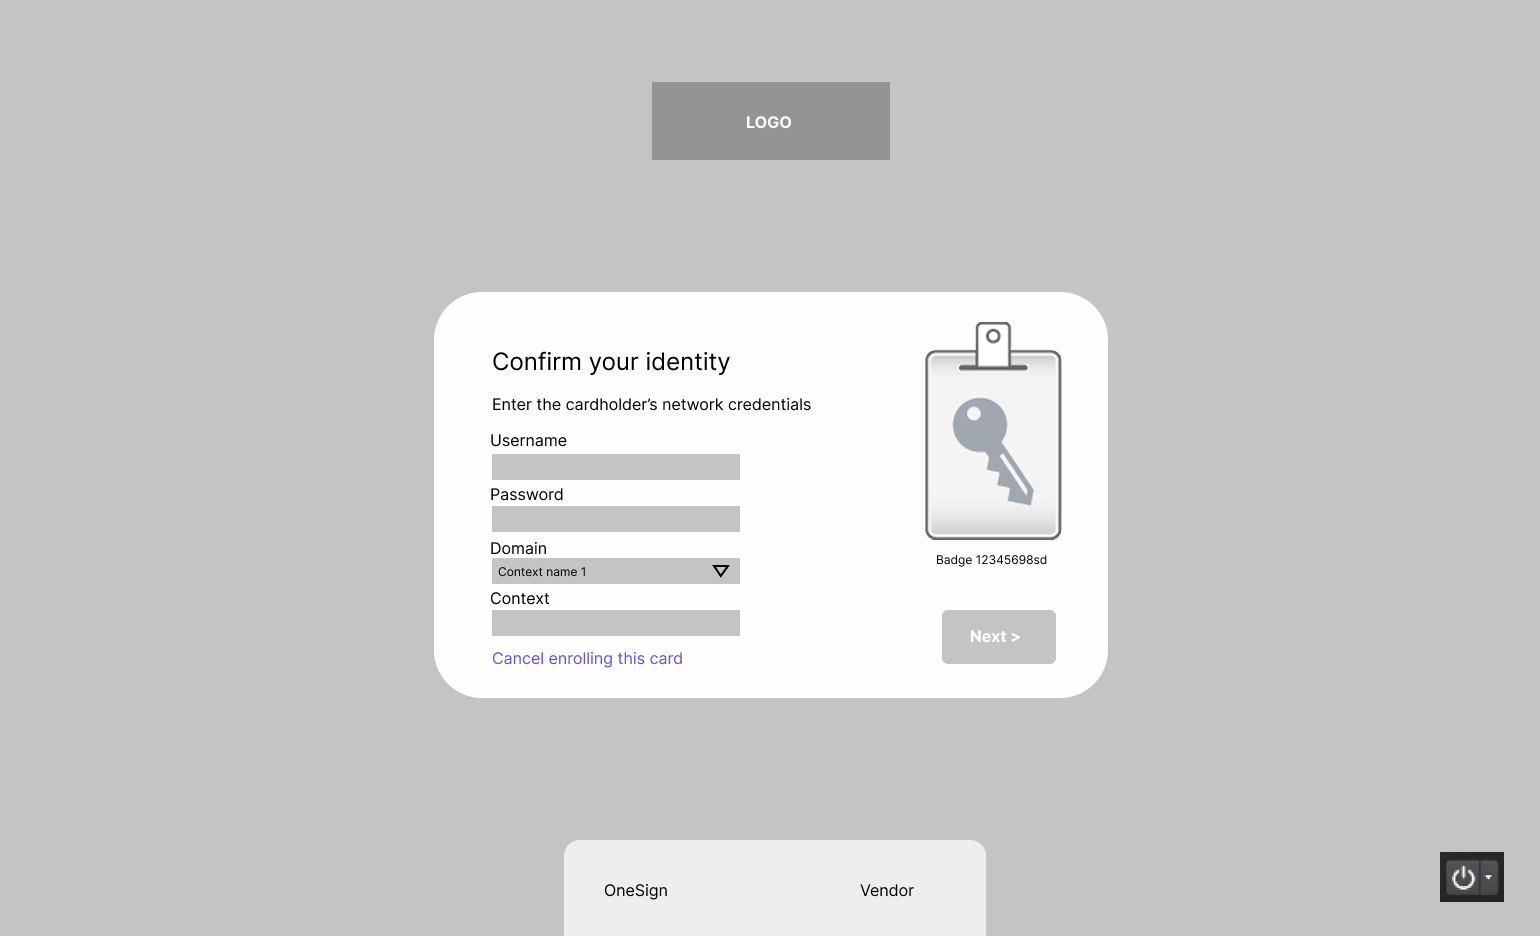
Once the user has completed their first authentication (by using a security key or another method) they will then have to use a second factor. In most scenarios, the second factor is the username and password. It’s also the way that a new or unenrolled security key (or badge) can then be enrolled. This second check is a way of connecting a known user with a new badge.

The user needs to create a PIN to associate with this particular flow, as has been established with this second factor. Besides creating an additional data form by which the user can log in, it also makes another connection between the person, the badge, and the system.

When the success message appears, the user has completed the process that connects their badge, their identity, and their second factor ID together into a single file. Since this still remains a discrete option, when they press “Done”, they will be returned to the welcome screen to log in again, as they’ve only enrolled a new card through this particular flow. However, with the second authentication process, they will only have to tap and hold their card and they then will gain access.